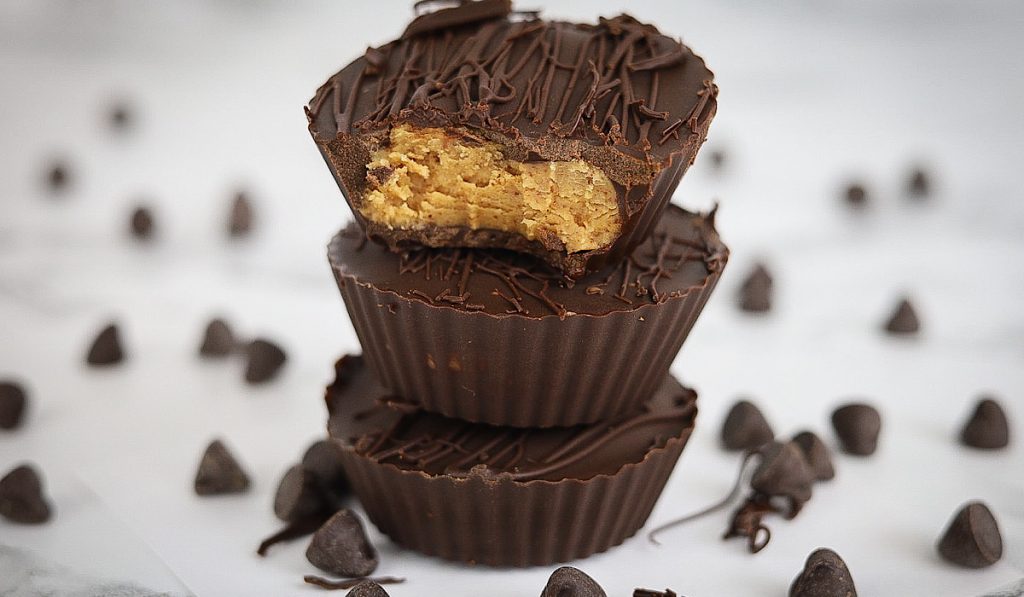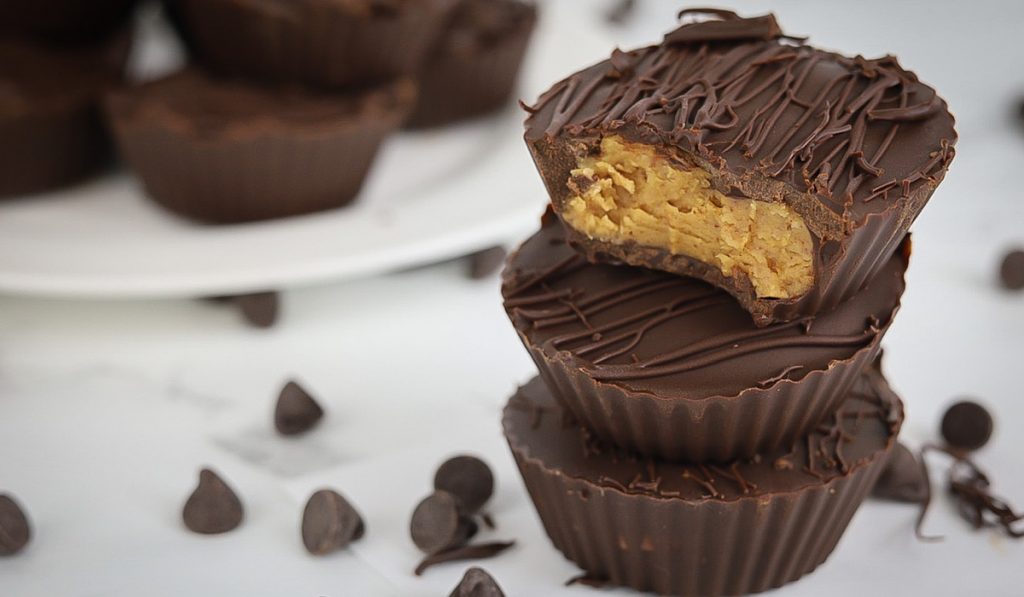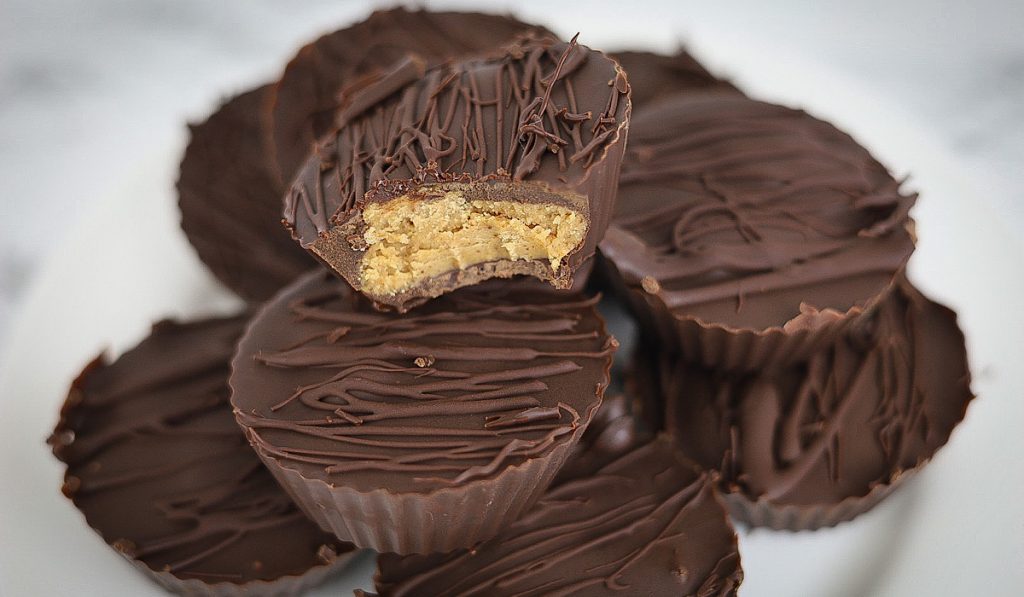
Peanut butter and chocolate is arguably the BEST combination ever. Period. And these homemade peanut butter cups taste even better than an actual Reese’s, because they are made with wholesome, real ingredients! Plus they are no bake, quick to make and insanely addicting!
It’s safe to say I had a Reeses Peanut Butter Cup obsession growing up. It was the one candy I could not stop eating. I was known as the Reeses Queen, and embarrassingly enough, I proudly owned a Reeses T-shirt that I wore more times than I’d like to admit.
Have you ever paid attention to the ingredients in a Reese’s Peanut Butter Cup? About half of the ingredients you may not even recognize. For example: PGPR, TBHQ, Hydrogenated Vegetable Oil and here’s an interesting one, Partially Defatted Peanuts. Ummm, what? I always say “fat is where it’s at” (Why Fats?), so when I read the words ‘defattening peanuts’ all I can do is roll my eyes because that sounds like the silliest, most unnecessary ingredient I’ve ever seen!

You can say I’m very DIY when it comes to foods. I love to find healthier alternatives, and create foods myself to avoid feeding my family the junk filled processed foods. So recreating a version of my all time favorite candy was a challenge I gladly accepted. I use natural sweeteners, real chocolate and the real natural drippy peanut butter for the filling.
Homemade Peanut Butter Cups Video
How to make Homemade Peanut Butter Cups?
Step 1:
Line a muffin tin with either paper or silicone liners. (I love my silicone liners and use them for everything from cupcakes to muffins. I haven’t bought paper liners in years. They’re a fabulous addition to any kitchen, and make for a great gift idea!)
Melt coconut oil in a medium size sauce pan over LOW heat. The key here is low heat and patience. You’re about to add the chocolate, and if you add it to a burning hot pan, you will burn the chocolate. So keep the heat low! Add chocolate chips and slowly mix into the coconut oil until the chocolate is melted. Remove from heat and add vanilla and a dash of unrefined salt.
Step 2:
Scoop out 2 tsp of chocolate and add to the bottom of each liner. Spread a thin layer of chocolate over the bottom and using the back of your spoon, push the chocolate up the sides of the liner about 1/2 inch. Continue to all 12 cups and place muffin tray into the freezer for 8-10 minutes.
Step 3:
Add 1 cup natural peanut butter (only ingredients being peanuts and salt) to the bottom of a sauce pan. Turn heat to LOW again and add in 2 Tablespoons maple syrup. Mix for 1-2 minutes. The moisture of the peanut butter will become slightly dry, which is what we are trying to achieve. Remove from heat and add in vanilla, salt and coconut sugar. The texture should be pretty pliable and similar to that of a real Reese’s.
Step 4:
Remove muffin tin from freezer. Roll peanut butter into a ball 1 Tablespoon at a time, then flatten the ball into a disk. Add to the top of each chocolate filled muffin liner. Add more peanut butter to each if you have a little extra.
Step 5:
Scoop 2 teaspoons of the remaining melted chocolate overtop the peanut butter disks. Be sure the sides around the peanut butter get covered as well. You can use the rest of the chocolate to cover all the cups, or reserve a tablespoon or two to make a fancy drizzle over the peanut butter cups after they freeze. Place muffin tin back into freezer for another 8-10 minutes. Remove and drizzle the remaining chocolate over for a fancy garnish. Freeze another 5 minutes. Remove each peanut butter cup from its liner, and try not to eat every. single. one. But if you do, I won’t tell anyone 😉
Enjoy!

Substitutions:
- You may use almond butter, cashew butter or sunflower butter in place of the peanut butter.
- We prefer the taste of dark chocolate. You may use semi-sweet, dark or milk chocolate. (I try to avoid chocolate chips with (GMO) soy as an ingredient and usually buy chocolate between 72-90% dark.)
Pin for Later

Let’s make some peanut butter cups!

Homemade Peanut Butter Cups
Ingredients
Chocolate Layer:
- 1 Tbsp coconut oil
- 10oz (1 1/2 cups) chocolate chips
- 1 tsp vanilla
- Pinch unrefined salt
Peanut Butter Filling
- 1 cup natural peanut butter
- 2 Tbsp maple syrup
- 2 Tbsp coconut sugar
- 1/2 tsp vanilla
- Pinch unrefined salt
Instructions
- Line 12 cup muffin tin with cupcake liners (paper or silicone)
- Melt coconut oil in a medium sauce pan on LOW (the key for success is keeping a very low heat so the chocolate doesn't burn). Add in chocolate chips. Mix together until chocolate chips have melted completely. Remove from heat. Mix in vanilla and salt.
- Add 2 teaspoons melted chocolate to the bottom of cupcake liners. Push chocolate up the sides of each liner about 1/2 inch. (This will be the chocolate sides of our peanut butter cup) Freeze 8-10 minutes.
- Add peanut butter and maple syrup to a medium sauce pan and again, turn the heat to LOW. Mix together for about 1-2 minutes. You will notice the moisture of the peanut butter will change and become more dry. This is what we want. Once the peanut butter becomes pliable where you can form it into a ball, remove from heat. Add 2 Tablespoons coconut sugar and a pinch of salt. Mix until just combined.
- Remove muffin tin from the freezer. Scoop out 1 Tablespoon of peanut butter mixture and form into a ball. Press ball into a flat disk and lay on top of chocolate layer. Continue to do this to all 12 cups. If there is extra peanut butter, just divide evenly until it's gone.
- Add 2 teaspoons melted chocolate to the tops of each peanut butter layer. (if chocolate has begun to set, it's ok, just add the pan back to the stove on LOW and melt it again) Spread chocolate evenly over each peanut butter disk. (Reserving about 1 Tablespoon for a final chocolate drizzle for garnish) Freeze another 8-10 minutes.
- Take a spoon and scoop some melted chocolate. Using your wrist, shake your hand back and forth allowing the chocolate to drip off the spoon and create a drizzle effect overtop of all your peanut butter cups. Freeze for another 5 minutes.
- Remove liner off of each peanut butter cup. Store in an airtight container. They can be stored at room temperature for 4 days. They will not go bad, but they'll begin to dry out. But I have a feeling they won't last until day 4.
Notes
You can refrigerate or freeze them, but this may create a white film over your chocolate due to the coconut oil in them, and they will dry out quicker.
Shop:
*This post contains affiliate links that I make a small commission on but it is at no additional cost to you.

Leave a Reply