
Once you experience the cloud like texture, the gentle maple sweetness and the knowledge that you’re actually nourishing your body while enjoying this sweet treat, you will never look at store bought marshmallows the same way again!
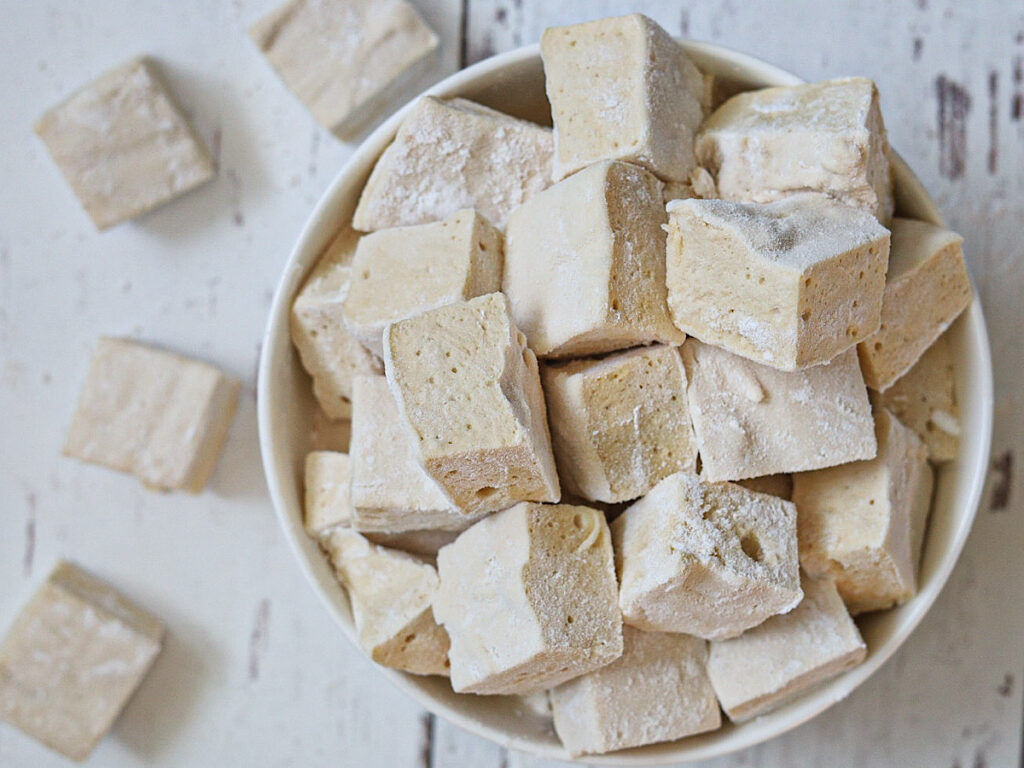
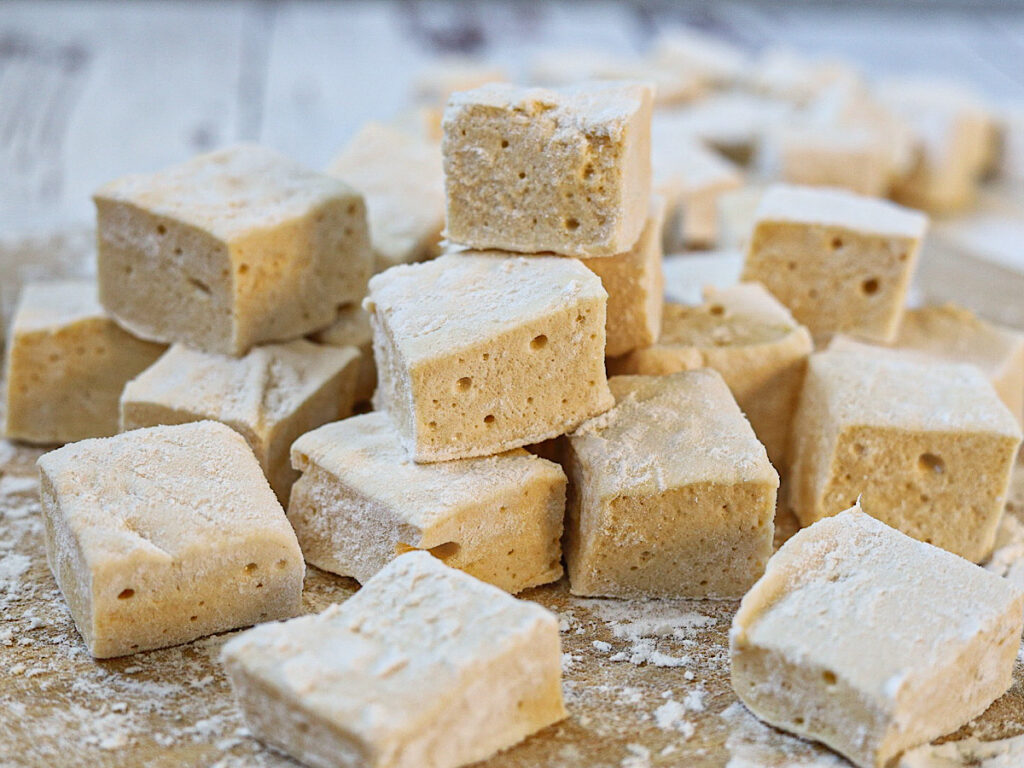
These are nothing like the stiff, overly sugary cubes from the grocery store. These soft, pillowy mallows melt on your tongue leaving you craving more.
And believe it or not, they’re not just an easy homemade candy.
They’re a cozy, nourishing treat that is so good for your gut lining, stabilizing your blood sugar, and they’re filled with minerals and collagen making them excellent for your joints, skin, hair and nail strength.
Crazy right? Healthy Marshmallows? Sign me up!
They’re made with 5 simple ingredients and the process itself is so easy.
Simply bloom gelatin, warm your sweetener, whip everything together into a fluffy cloud and watch it transform into a glossy, pillowy marshmallowy dream.

These are incredibly satisfying in coffee, hot chocolate, over the fire or just enjoyed as is.
Their taste is so pure and fresh that’s it’s nearly impossible to just eat one. You and your family are going to absolutely love these!
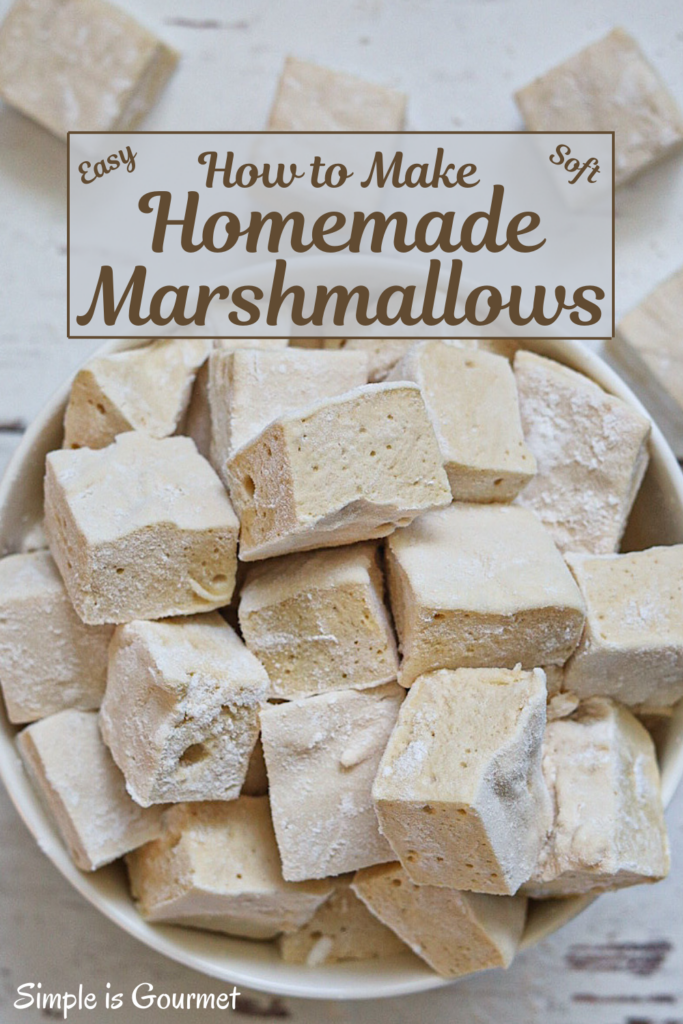
Pin for Later:
How are Homemade Marshmallows Good for me?
When I first heard I could make homemade marshmallows and that they were equally good for me, I instantly needed to learn more! So let me tell you about what I have learned.
First of all let’s talk about the power of Gelatin!
Gelatin is rich in amino acids that help support:
- Gut Health: soothing and repairing the digestive lining
- Joint health: supporting cartilage, tendons and ligaments
- Skin, hair, and nail strength: thanks to collagen (aka the gelatin, they’re one in the same)

Second let’s speak on the benefits of the sweetener, either honey or maple syrup.
Maple Syrup:
- Trace Minerals: When sweetening with pure maple syrup, you’re adding in minerals like magnesium, zinc, potassium, manganese, polyphenols and more!
- Maple syrup has a lower glycemic impact on us than refined sugar. This causes a gradual rise in blood sugar preventing sharp spikes and crashes. (Hello to stopping those mood swings!)
Raw Honey:
- Antimicrobial Properties: Raw honey can help inhibit harmful bacteria while also supporting immune health.
- Rich in Antioxidants: Especially in darker honey which helps combat oxidative stress.
- Just like maple syrup, honey also contains a low glycemic impact making it gentler on our blood sugar regulation.

Why are these good to eat right before going to bed?
When my practitioner told me she feeds these homemade marshmallows to her kids before bed every night, I couldn’t believe it! So I had to look up the WHY behind these being a good bedtime snack!
Here’s Why:
Gelatin’s Glycine helps calm the nervous system, helping support a more restful sleep.
Natural carbohydrates from maple syrup and protein from the gelatin can help stabilize blood sugar through the night, which may prevent those 2-3am bodily wake up calls.
Collagen (that’s the gelatin) before bed supports overnight tissue repair when your body does most of its healing!
So there you have it! Eating a yummy marshmallow before bed just might become your new favorite nightly ritual.
Ingredients to make Homemade Marshmallows

- Water
- Maple Syrup or Honey
- Unflavored Gelatin Powder
- Vanilla Extract
- Arrowroot Powder
Kitchen Tools needed to make Homemade Marshmallows
How to make Homemade Marshmallows
Line an 8 x 8 baking pan with parchment paper and evenly sprinkle arrowroot powder into the pan.

In the bowl of a stand mixer pour in water and gelatin to bloom.

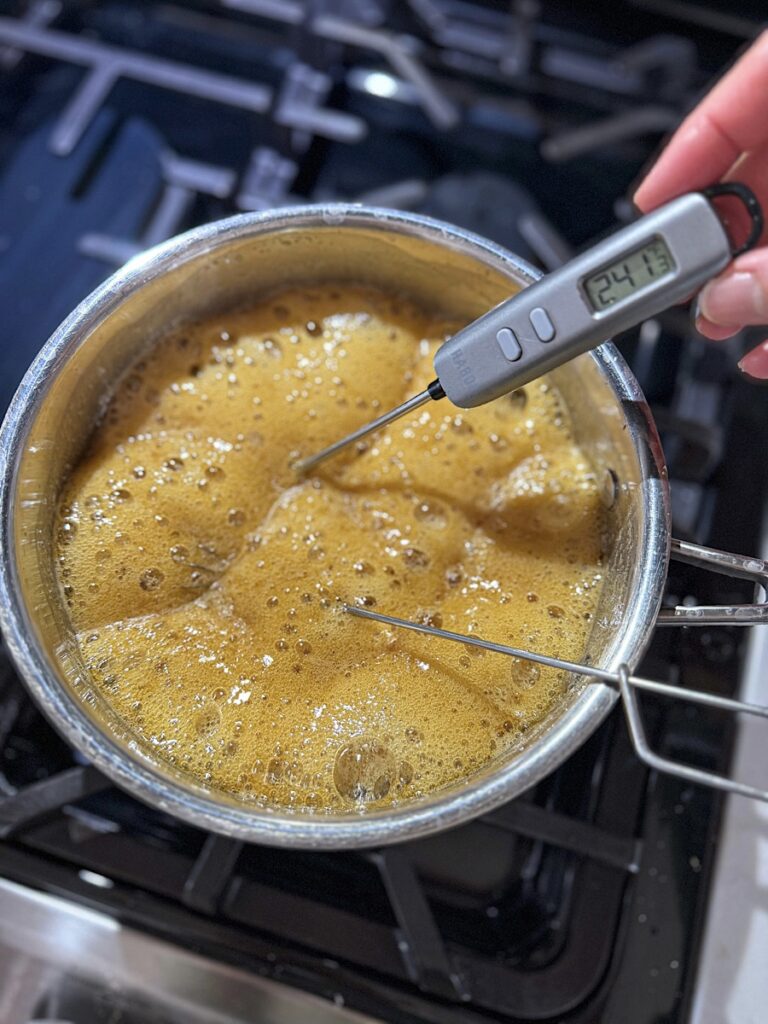
In a medium pot, combine water and sweetener and bring to a boil over medium/high heat for about 15-20 minutes until a candy thermometer reads 240 degrees F. Mixture will foam up and bubble, so you can mix it down if necessary. It takes a while to break through 220 degrees F. Be patient, it will eventually reach 240 degrees F and have a nice caramel coloring.
Remove from heat and turn the mixer on to break up the hardened gelatin below. Slowly add in the sweetener from the pot. Add in the vanilla next. Then increase the speed to high and whip everything for about 5 minutes. The mixture will triple and turn into a glossy, fluffy off white color.

Finished Ribbon Test: Pull up your whisk and if the mixture falls into a thick, slow moving ribbon. holding it’s shape for a few seconds, it is finished.
Working quickly, pour marshmallow fluff into prepared pan spreading evenly with a spatula. It begins to set very quickly, so work fast here!
Allow marshmallows to come to room temp for about 30-60 minutes.

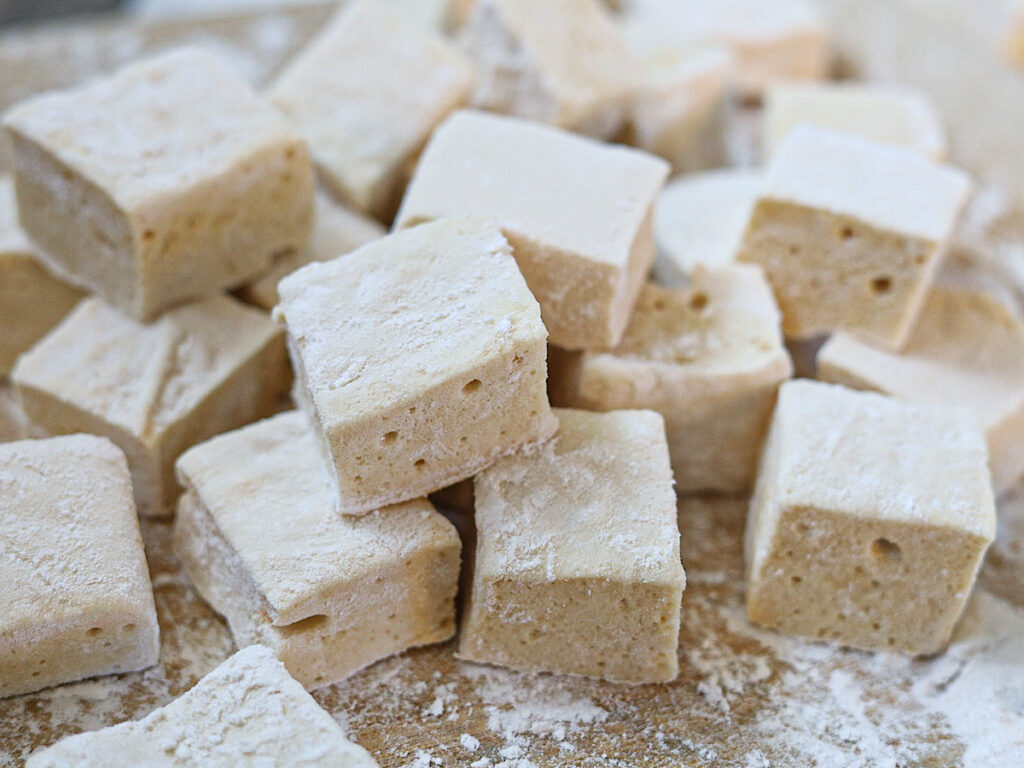
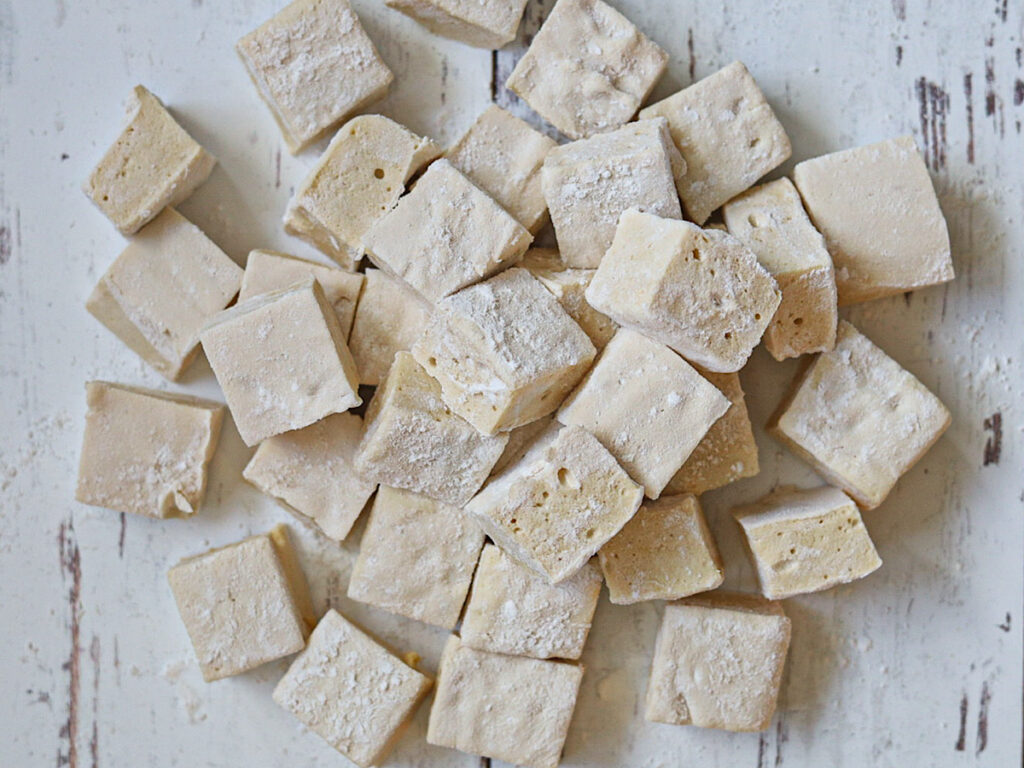
Before cutting into them, sprinkle more arrowroot overtop and rub it in evenly over marshmallows.
Using a large, greased knife, cut the marshmallows into your desired sizes. (more arrowroot could be helpful here)

Store in an airtight container for 2 weeks at room temperature or in the freezer for up to 6 months.
Best Method for Storing Homemade Marshmallows at Room Temperature
Shelf Life: 2 weeks
How to store:
- In an airtight container
- Lightly dusted with arrowroot powder to prevent sticking
- Keep in a cool, dry place away from humidity or heat
Best Method for Freezing Homemade Marshmallows
Freezer Life: 6 months or longer with good sealing
How to Freeze:
- Cut and Dust: Cut marshmallows into squares and lightly dust all sides with arrowroot powder so they don’t stick together
- Flash Freeze: Lay them in a single layer on a parchment lined baking sheet and freeze for 1-2 hours until firm.
- Transfer to Airtight Container: Place marshmallows into a freezer safe zip lock bag or airtight container, removing as much air as possible to prevent freezer burn.
- Label and Date: Cause if you’re like me, things get lost within the freezer abyss and I forget when I put them in there. So be sure to label and date them before freezing!

How to Thaw:
- Let them thaw at room temperature for 10-15 minutes.
- They’ll return to their soft, fluffy texture–amazing!
Freezing is a great way to make a big batch ahead of time for the holidays, or whatever you may need them for.
Don’t make these Marshmallow Mistakes
If you follow these directions exactly, you shouldn’t have an issue. But even the best make mistakes, myself included.
Mixing is the most difficult part here. Because under mixing can result in the marshmallows not setting up properly.
But over mixing can make your marshmallows too stiff and hard to spread creating a big ball of lumpy marshmallows, like what happened to me here. Whoops!

Now if this happens, don’t panic. You can still enjoy them as is. They taste the exact same! In fact, my kids ate these quicker this way because they just pulled out globs at a time to enjoy 🙂
But to avoid this mistake you need to work very quickly after you mix the marshmallows and have your pan ready to pour them into immediately.
My mistake was not having my pan ready, and by the time I tried to pour the marshmallows in, they had already set up. Hence the big blob above.
Live and learn, so don’t make my mistake. But if you do, know that you can still enjoy them!! 🙂
Alright, are you ready to make your own delicious Homemade Marshmallows?
Let’s Make Homemade Marshmallows

How to Make Homemade Marshmallows
Once you experience the cloud like texture, the gentle maple sweetness and the knowledge that you're actually nourishing your body while enjoying this sweet treat, you will never look at store bought marshmallows the same way again!
Ingredients
- 1 Cup Water (divided)
- 1 Cup Maple Syrup or Honey
- 3 Tbsp Unflavored Gelatin Powder
- 1 Tbsp Vanilla Extract
- 2 Tbsp Arrowroot Powder (divided)
Instructions
- Line an 8 x 8 baking pan with parchment paper and evenly sprinkle 1 Tbsp arrowroot powder into the pan.
- In the bowl of a stand mixer pour in 1/2 cup water and 3 Tbsp gelatin. Give a quick stir so the gelatin is mixed into the water then leave it alone to let it "bloom".
- In a medium pot, combine 1/2 cup water and 1 cup maple syrup or honey and bring them to a boil over medium/high heat for about 15-20 minutes until a candy thermometer reads 240° F. **watch carefully and don't walk away. Too high of heat can boil the sugar mixture over. If it begins to foam up, just whisk it back down. Helpful Tip: It takes a while to break 220°F. Have patience, because once it does, the temperature increases rapidly to 240°F.
- Remove from heat and start your mixer on low speed to break up the hardened gelatin below. Continue mixing while slowly adding in the hot sweetener from the pot. Add in the vanilla next. Then increase the speed to high and whip everything for about 5 minutes. The mixture will triple and go from a caramel color to a glossy, fluffy off white color. *Finished Ribbon Test: Pull up whisk and if the mixture falls into a thick, slow moving ribbon holding it's shape for a few seconds, it is finished. (see post for pictures)
- Working quickly, pour marshmallow fluff into prepared pan, spreading evenly with a spatula.
- Allow marshmallows to cure and come to room temp for about 30-60 minutes.
- Before cutting into them, sprinkle 1 Tbsp more arrowroot overtop and rub it in evenly over marshmallows.
- Using a large, greased knife, cut the marshmallows into your desired sizes. (more arrowroot could be helpful here if needed)
- Enjoy 🙂
Notes
Store in an airtight container for 2 weeks at room temperature or in the freezer for up to 6 months.
Links:
*This post contains Amazon affiliate links that I make a small commission on but it is at no additional cost to you. Thank you!
 Skip to Recipe
Leave a Reply